React is the most popular javascript framework which is used by millions of developers around the globe. Creating a React app from Scratch is quite painful as it requires a lot of configuration.
We all know that create-react-app gives a nice boilerplate to begin a journey with react, but you might have the requirement to create a custom configuration all from scratch, then this article is for you.
We will learn how to configure the React with Webpack 4 and Babel 7 from scratch in 10 simple steps.
Pre-requisite:
Step 1
- Create a project folder and cd into it
mkdir react_webpack_babel && cd react_webpack_babel
Step 2
- Create a package.json file into the root of our project folder “react_webpack_babel”:
yarn init
- If you want to skip all the question asked during the creation of package.json with the above command, run:
yarn init -y
Step 3
- Create an src folder, index.js, and index.html file:
mkdir -p src
touch src/index.html src/index.js
*Here, index.html and index.js files will serve as the entry point in our react application. *
Step 4
- Let's install React.js and React DOM:
yarn add react react-dom react-scripts
Step 5
*In this step, we will install Babel & Webpack: *
babel-core: babel transpile ES6 code to ES5
**babel-loader: ** This is a webpack helper which allows to transpile Javascript files with babel and webpack. It uses babel under the hood
babel/preset-env: It determines which features needs to be transformed to run within different browsers or runtime versions. This is also known as browser polyfills
babel/preset-react: It is used to transform all your React JSX into functions.
yarn add -D @babel/core babel-loader @babel/preset-env @babel/preset-react
- Install webpack and webpack-cli
yarn add -D webpack webpack-cli
- Now, create a webpack.config.js file inside our project folder and insert the below code into it
touch webpack.config.js
module.exports = {
  module: {
    rules: [
      {
        test: /\.(js|jsx)$/,
        exclude: /node_modules/,
        use: {
          loader: "babel-loader"
        }
      }
    ]
  }
};
**Step 6 **
*Install webpack-dev-server *
- webpack-dev-server: Webpack has its own server called webpack-dev-server(WDS) which removes the pain of manually refreshing the browser once the changes have been saved.
yarn add -D webpack-dev-server
- Now add below lines inside the package.json file
"scripts": {
    "start": "webpack serve --config webpack.config.js --progress --profile --watch --content-base src/",
    "build": "webpack --mode production"
 }
--watch: Even after the build run, webpack will continue to watch for changes in any of the resolved files.
--profile: Capture a "profile" of the application, including statistics and hints, which can then be dissected using the Analyze tool.
--progress: Prints compilation progress during the build
--content-base: This will tell the server where to serve content from.
Step 7
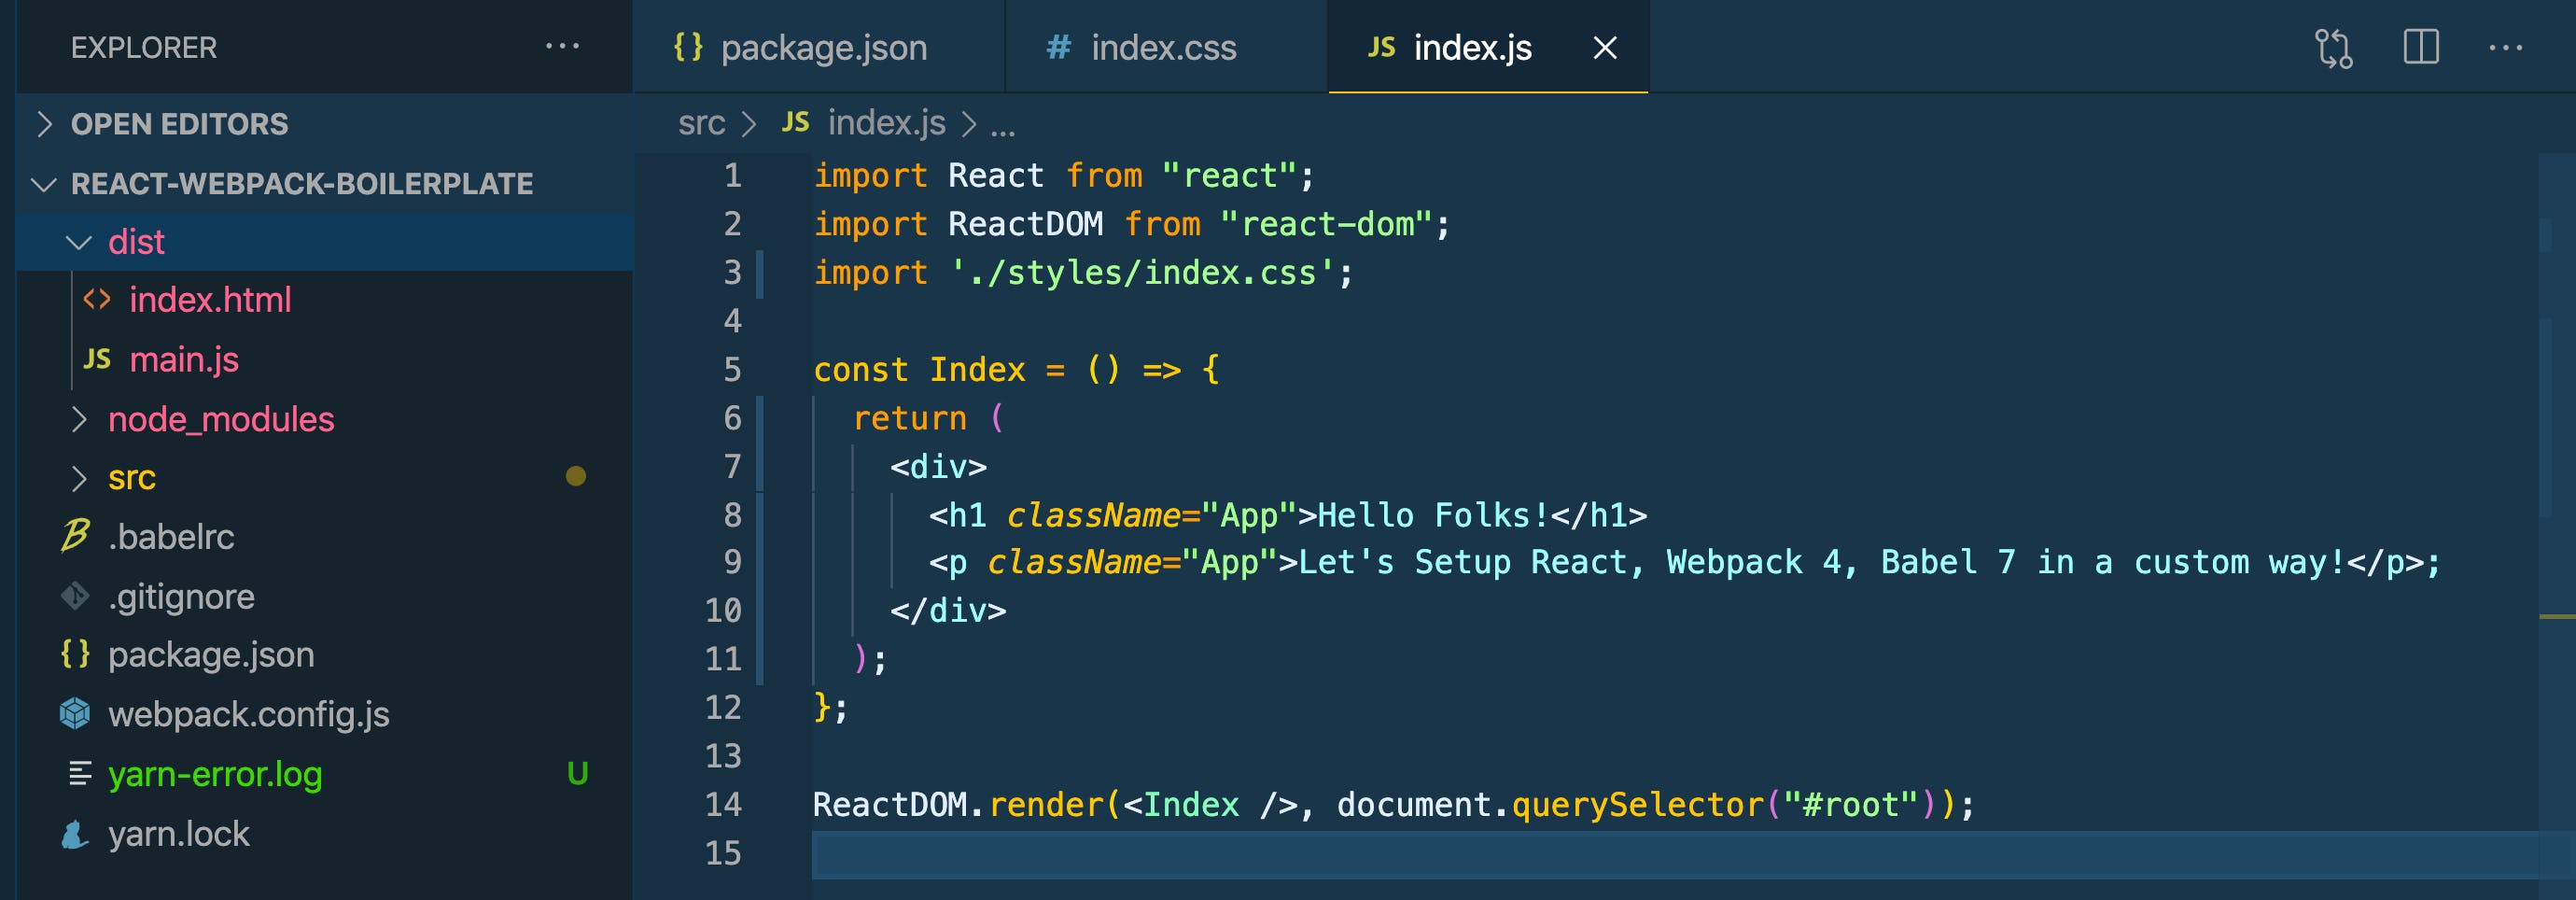
- Insert below code into your index.js files
import React from "react";
import ReactDOM from "react-dom";

const App = () => {
  return <div>Setting Up React,Webpack 4 & Babel 7!</div>;
};

ReactDOM.render(<App />, document.querySelector("#root"));
- Insert below code into your index.html files
<!DOCTYPE html>
    <head>
        <meta charset="utf-8">
        <meta http-equiv="X-UA-Compatible" content="IE=edge">
        <title>React Webpack</title>
        <meta name="description" content="">
        <meta name="viewport" content="width=device-width, initial-scale=1">
    </head>
    <body>
        <section id="root"></section>
    </body>
</html>
**Step 8 **
- Install another webpack helper, css-loader and style-loader to make CSS work in our application. We will be importing CSS files into our components.
yarn add -D css-loader style-loader
Check index.html file for the same!
Step 9
- Create a .babelrc file inside the root of your project folder and insert below lines to it.
.babelrc: As we know that, we are using babel-loader, it will look for a .babelrc file while the project is initialized
touch .babelrc
- Insert the below code to .babelrc file
{ "presets": ["@babel/preset-env", "@babel/preset-react"] }
- Install HTML web pack plugin and HTML loader for displaying our page
htmlWebPackPlugin: This generates the HTML dynamically, with a script tag including our bundled js file.
yarn add -D html-webpack-plugin html-loader
- Here is how our webpack.config.js file will look like:
const HtmlWebPackPlugin = require("html-webpack-plugin");
module.exports = {
  module: {
    rules: [
      {
        test: /\.(js|jsx)$/,
        exclude: /node_modules/,
        use: {
          loader: "babel-loader"
        }
      },
      {
        test: /\.html$/,
        use: [
          {
            loader: "html-loader"
          }
        ]
      }
    ]
  },
  plugins: [
    new HtmlWebPackPlugin({
      template: "./src/index.html",
      filename: "./index.html"
    })
  ]
};
- Here is how our package.json looks like :
{
  "name": "react-webpack4-babel7-boilertplate",
  "version": "1.0.0",
  "main": "index.js",
  "license": "MIT",
  "scripts": {
    "start": "webpack-dev-server --open --hot --mode development",
    "build": "webpack --mode production"
  },
  "dependencies": {
    "react": "^17.0.1",
    "react-dom": "^17.0.1",
    "react-scripts": "^4.0.0"
  },
  "devDependencies": {
    "@babel/core": "^7.12.3",
    "@babel/preset-env": "^7.12.1",
    "@babel/preset-react": "^7.12.1",
    "babel-loader": "^8.1.0",
    "css-loader": "^5.0.0",
    "html-loader": "^1.3.2",
    "html-webpack-plugin": "^4.5.0",
    "style-loader": "^2.0.0",
    "webpack": "^5.3.0",
    "webpack-cli": "^4.1.0",
    "webpack-dev-server": "^3.11.0"
  }
}
Step 10
- Now Run,
yarn run start
- You will see that the code is compiled successfully. Let's run the app in our browser

- To make the build, run
yarn run build
This will then create /dist/ folder

Conclusion
In this article, we learned how can we leverage webpack, babel to create a custom react project.
I have created the repository on Github, please feel free to fork the code and try to run all the commands which I have mentioned above.
**GitHub Repo: ** React17-Webpack4-Babel7-2021
If you liked it please leave some love for this article to show your support and let me know if you would like me to write more on React.js. Leave your responses below and reach out to me if you face any issues.

