


Ansible is an open-source IT Configuration Management, Deployment & Orchestration tool. Ansible is a radically simple IT automation platform that makes your applications and systems easier to deploy.
If you have ever worked in the DevOps environment, then you know that not only do you need to install or configure the same services over and over again, but you also need to manually keep track of exactly what you have done and what is left to do. Ansible helps solve this problem.
Ansible is installed on a server and is used as the control station which stores and applies “states” to servers you choose to connect to it. This tool aims to provide large productivity gains to a wide variety of automation challenges.
If you are following our previous articles from the devops bootcamp series, we have deployed Jenkins, created Next.js demo app and dockerized it.
In this article, you will:
- Learn to integrate Jenkins with Ansible
- Learn to create Jenkins job
- Learn to write playbooks
- Learn to deploy applications on Ansible
- Learn to automate the deployments with Ansible
Pre-requisites
- Basic knowledge of Ansible is required.
Installing & Configuring Ansible on AWS server
Create an EC2 Instance in your AWS console. Here is the simple guide shows you how to do the same
Login to the server
ssh -i jenkins_aws_key.pem ec2-user@your-server-public-IP
- Install Python
yum install python
- Install PIP
yum install python-pip
- Install Ansible
pip install ansible
- Check Ansible Installation status
ansible --version
Install Docker
- Docker on the Ansible server will create the image and run the container. We will push the created image to the Amazon ECR(Elastic Container Registry) and pull the image to create the container accordingly from the latest image
yum install docker
- Create a new user and set the password. If you are on the Ubuntu machine, you can learn here, how to create a new user on your ubuntu machine.
Useradd anisibleuser
Passwd anisibleuser
- Put the user anisibleuser to the docker group so we won't have any permission issues
usermod -aG docker anisibleuser
Integration of Ansible with Jenkins
Now, we will integrate Ansible with Jenkins, so that once our build is successful on build, we will push our files on the Ansible server.
Note: We will consider Jenkins as our build server
- Enable password authentication on the ansible server, so it won't cause any issues in pushing our files via ssh from Jenkins server after our build is completed
vi /etc/ssh/sshd_config
- Reload the sshd service
service sshd reload
- Login with ansibleuser
su - ansibleuser
Verify whether the ansible is working. We can easily verify the control node by using the ping command
Create the host file
#create the hosts file
mkdir vi /etc/ansible
vi /etc/ansible/hosts

#Insert below to the hosts' file
localhost
- Run below command to copy the ssh key
ssh-copy-id localhost
- Run to ping command to test
ansible -m all ping

Create the Jenkins job with freestyle project
Connect the git repository with Jenkins. We would be using this for this demo repo.
Publish over SSH - Select the option to send all the files to the ansible server once the build is completed.
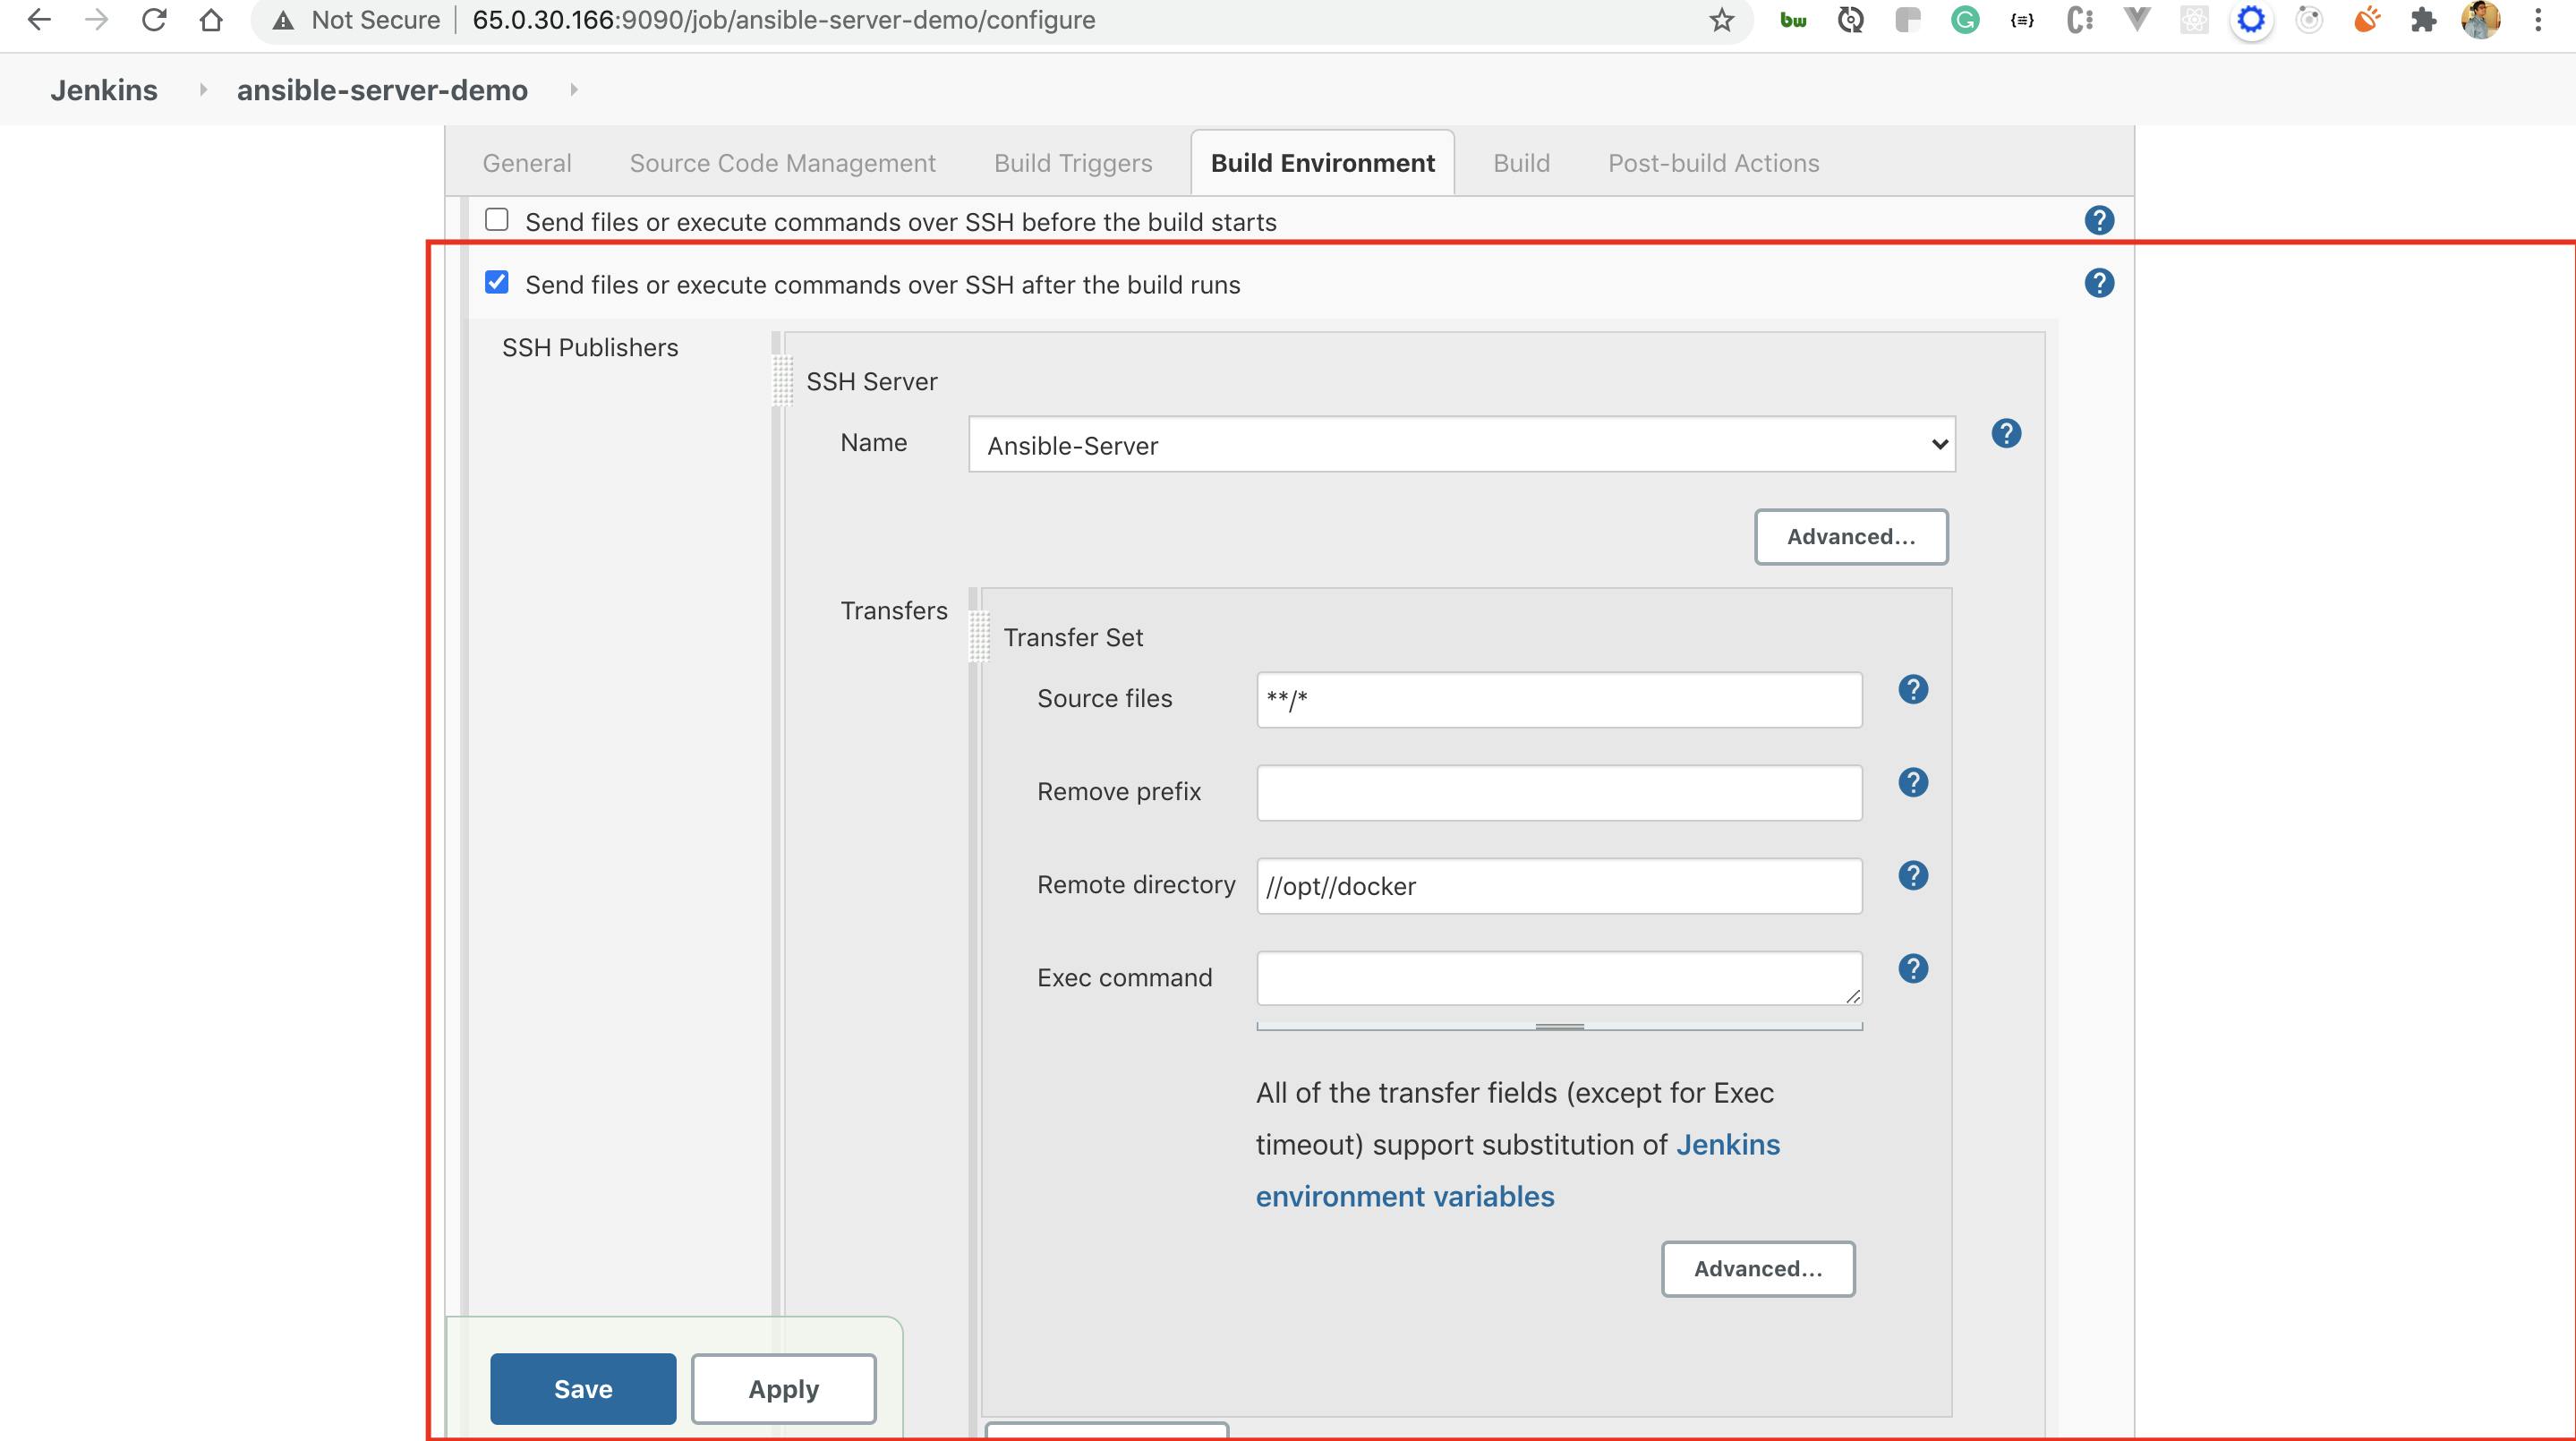
SSH -Server Name - We will get the option for ansible server.
Source files - It will be the workspace location for the project which is created
Remote directory - Folder to which all the files will be pushed to ansible server
Exec command - We can execute the commands we would be running.
ansible-playbook -i /opt/docker/hosts /opt/docker/create-and-push-docker-image.yml
ansible-playbook -i /opt/docker/hosts /opt/docker/run-docker-container.yml
Ansible Playbooks
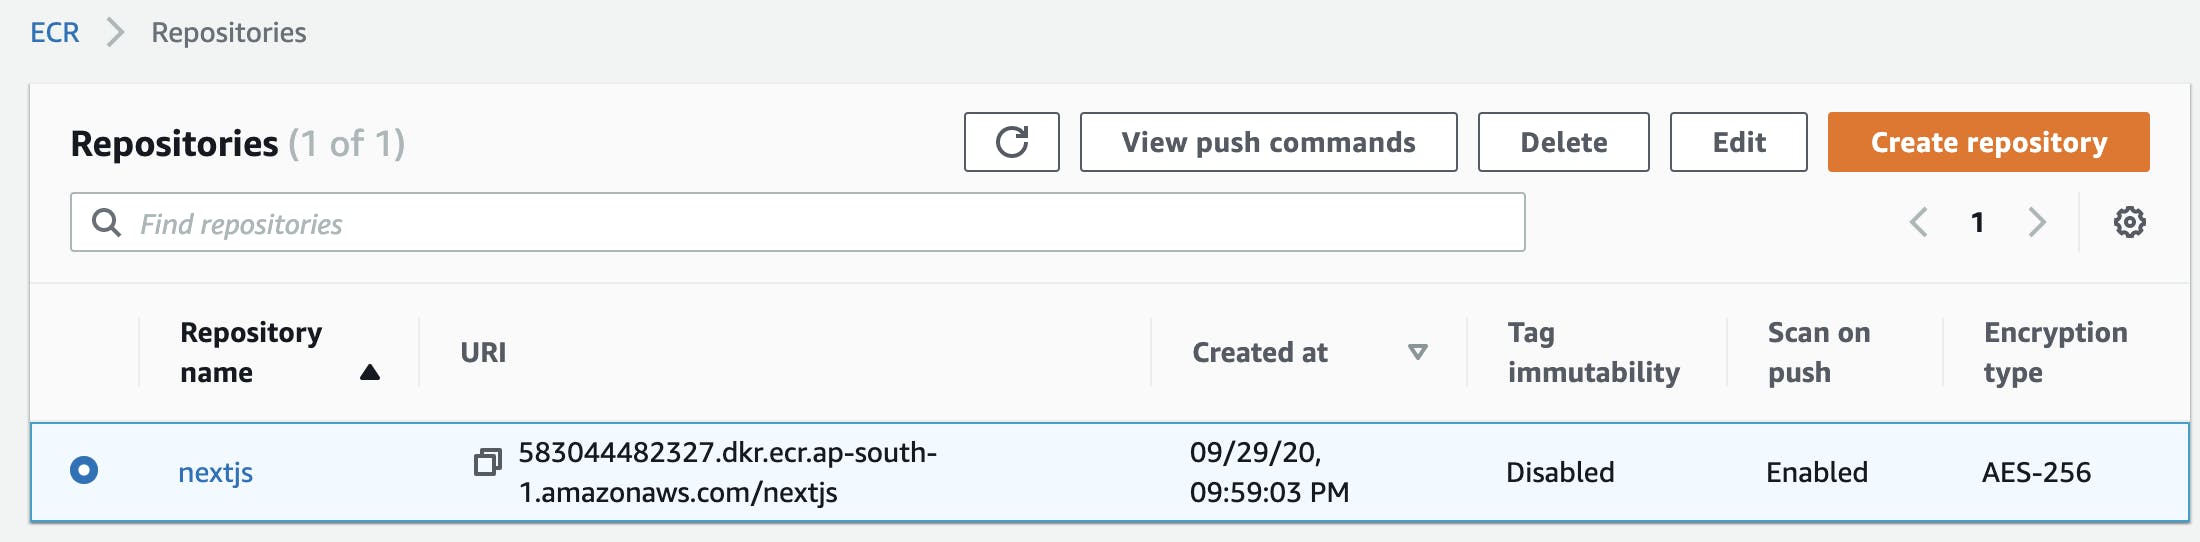
We will now build the docker image and push on the Amazon Container Registry and we would create an ansible playbook for the same.
- Insert the below code in the file - create-and-push-docker-image.yml
---
- hosts: localhost
  become: true

  tasks:
    - name: ECR login
      shell: "$(/usr/bin/aws ecr get-login --no-include-email --registry-ids 583044482327 --region ap-south-1)"

    - name: Delete the latest image from the ECR
      shell: "/usr/bin/aws ecr batch-delete-image --repository-name nextjs --image-ids imageTag=latest"
      ignore_errors: yes

    - name: remove the image
      command: docker rmi 583044482327.dkr.ecr.ap-south-1.amazonaws.com/nextjs:latest
      ignore_errors: yes

    - name: docker pull
      command: docker pull 583044482327.dkr.ecr.ap-south-1.amazonaws.com/nextjs:latest
      ignore_errors: yes

    - name: build the images
      command: docker build -t nextjs .
      args:
        chdir: /opt/docker

    - name: tag the images
      command: docker tag nextjs:latest 583044482327.dkr.ecr.ap-south-1.amazonaws.com/nextjs:latest

    - name: push the image
      command: docker push 583044482327.dkr.ecr.ap-south-1.amazonaws.com/nextjs:latest
- Insert the below code to run-docker-container.yml
---
- hosts: localhost
  become: true
  tasks:
    - name: stop current running container
      command: docker stop nextjs-container
      ignore_errors: yes

    - name: remove stopped container
      command: docker rm nextjs-container
      ignore_errors: yes

    - name: create container using nextjs image
      command: docker run -d --name nextjs-container -p 8080:8080 nextjs
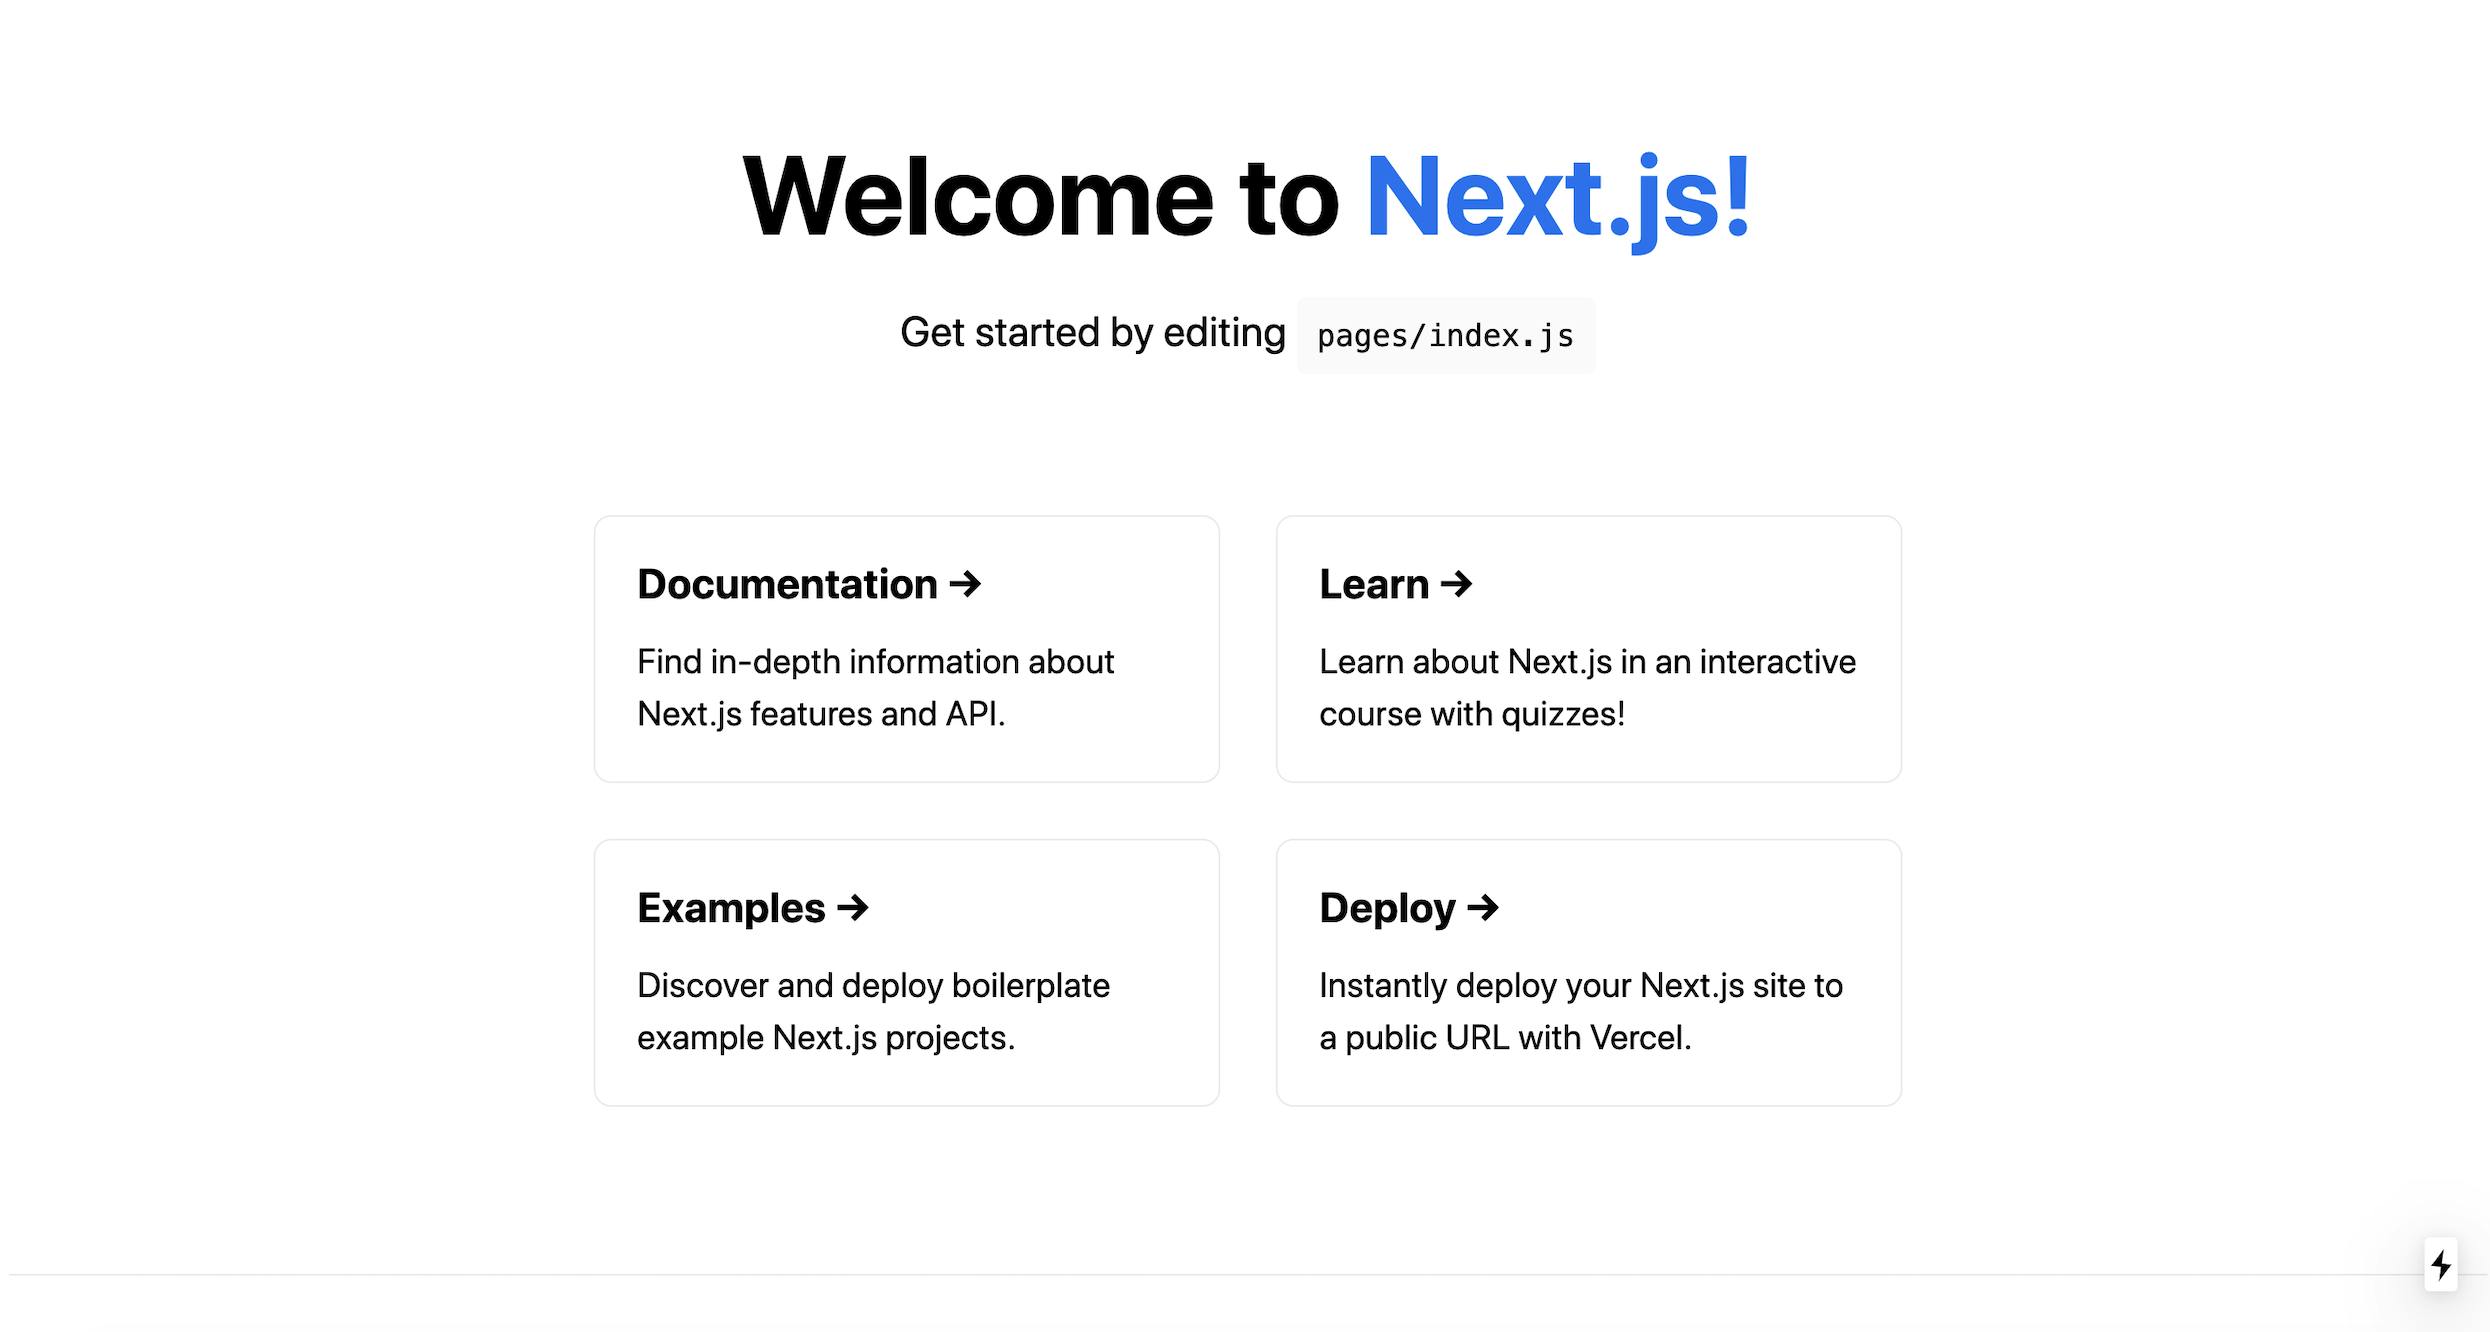
After executing these commands on the Ansible server via our Ansible Playbooks, your Next.Js web application should be up and running on the Ansible server.
Conclusion
In this article, we learned how we can deploy our nextjs application on Ansible server with simple ansible playbooks scripts and some Jenkins configurations.
In our next article, we will see how we can deploy our nextjs app on Kubernetes, how we can integrate Jenkins, Ansible and Kubernetes together to complete our entire CI/CD pipeline. Until then, feel free to explore the world of Devops, and let me know if you have any questions in the comment section below.